Want to start a radio station or becoming a radio host or DJ 🎙 in your local community but having no idea about how to get started this post might help you. The short version: Get a broadcast license, get some equipment, lubricate your voice and start broadcasting.
If you want to have audience on the long run, do some practice on your voice, your interviews, your presentation and stream your radio live on the World Wide Web as well like mine test station here https://jes.saxe.dk:8443/stream. For every broadcasting hour calculate approximately 10 hours preparation maybe more before it becomes routine.
You need to master:
- Radio broadcasting via transmitter.
- 🗼 Antenna/aerial techniques ( this is where the magic happens).
- Internet live streaming. Setup an YouTube Account or similar.
- Production and how to build up a show and how to make a weekly schedule that fit your audience in your local Community.
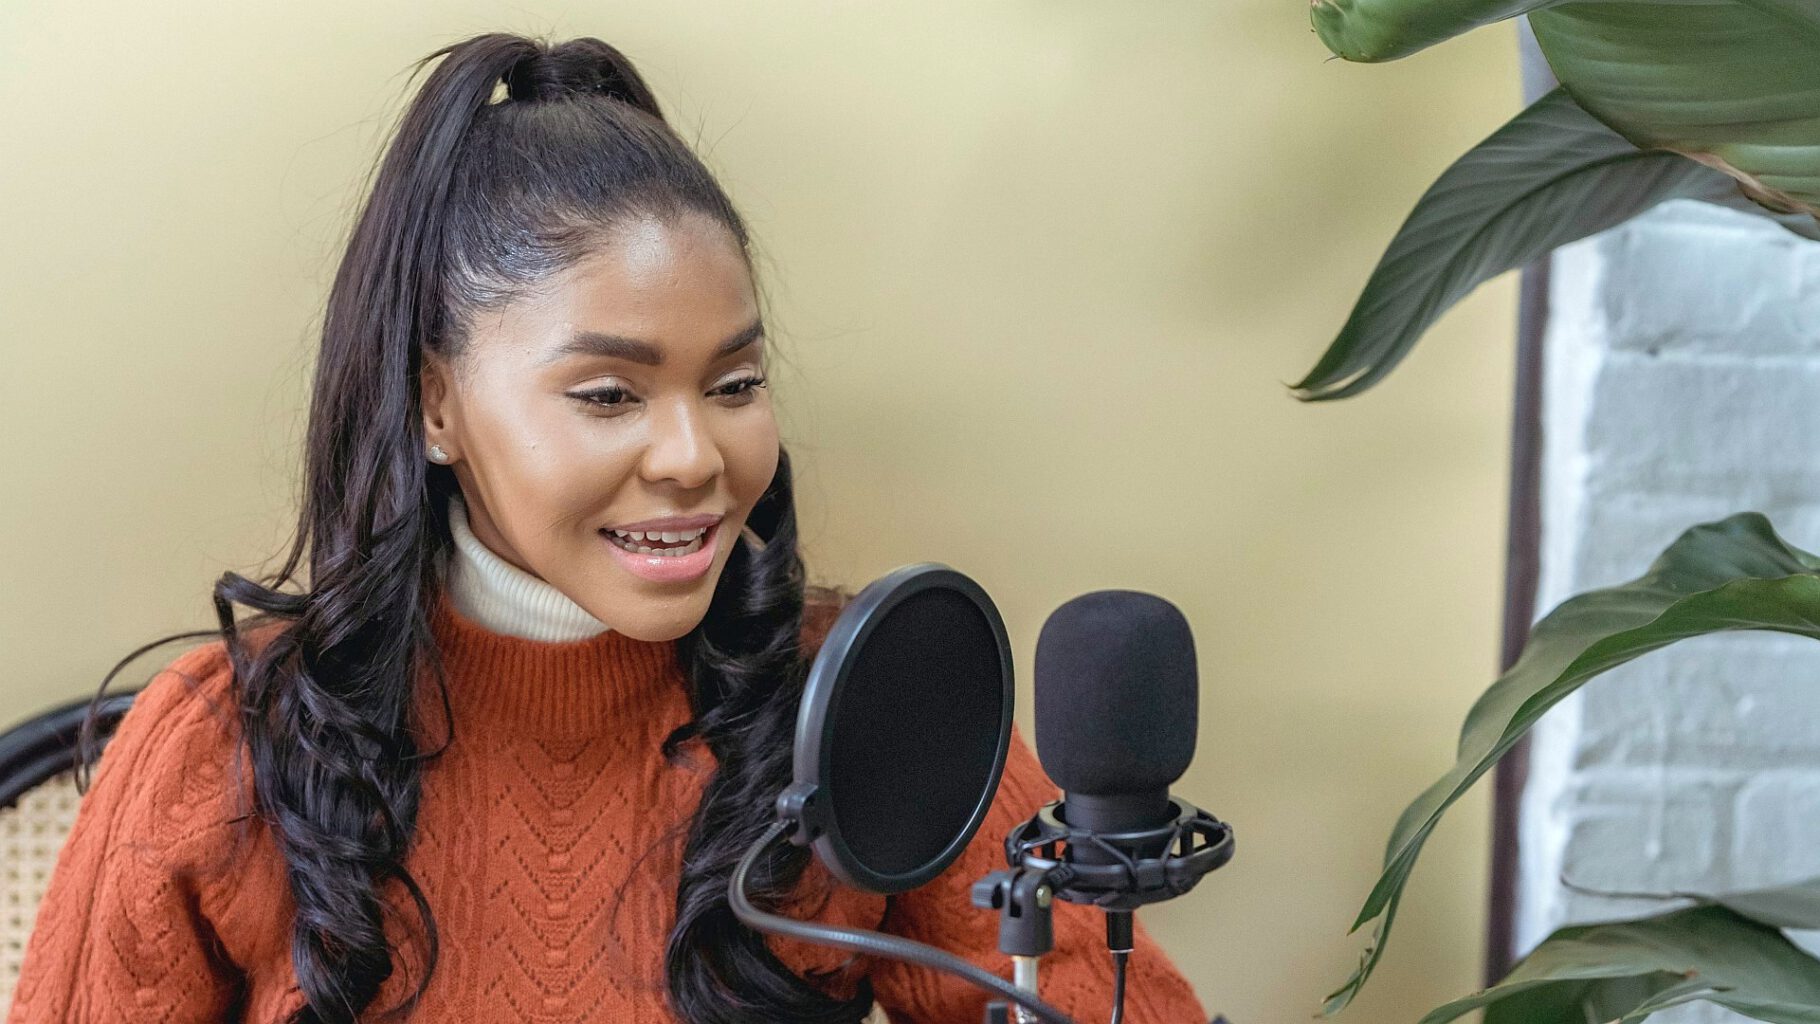
- Microphone techniques.
- Editing of interviews.
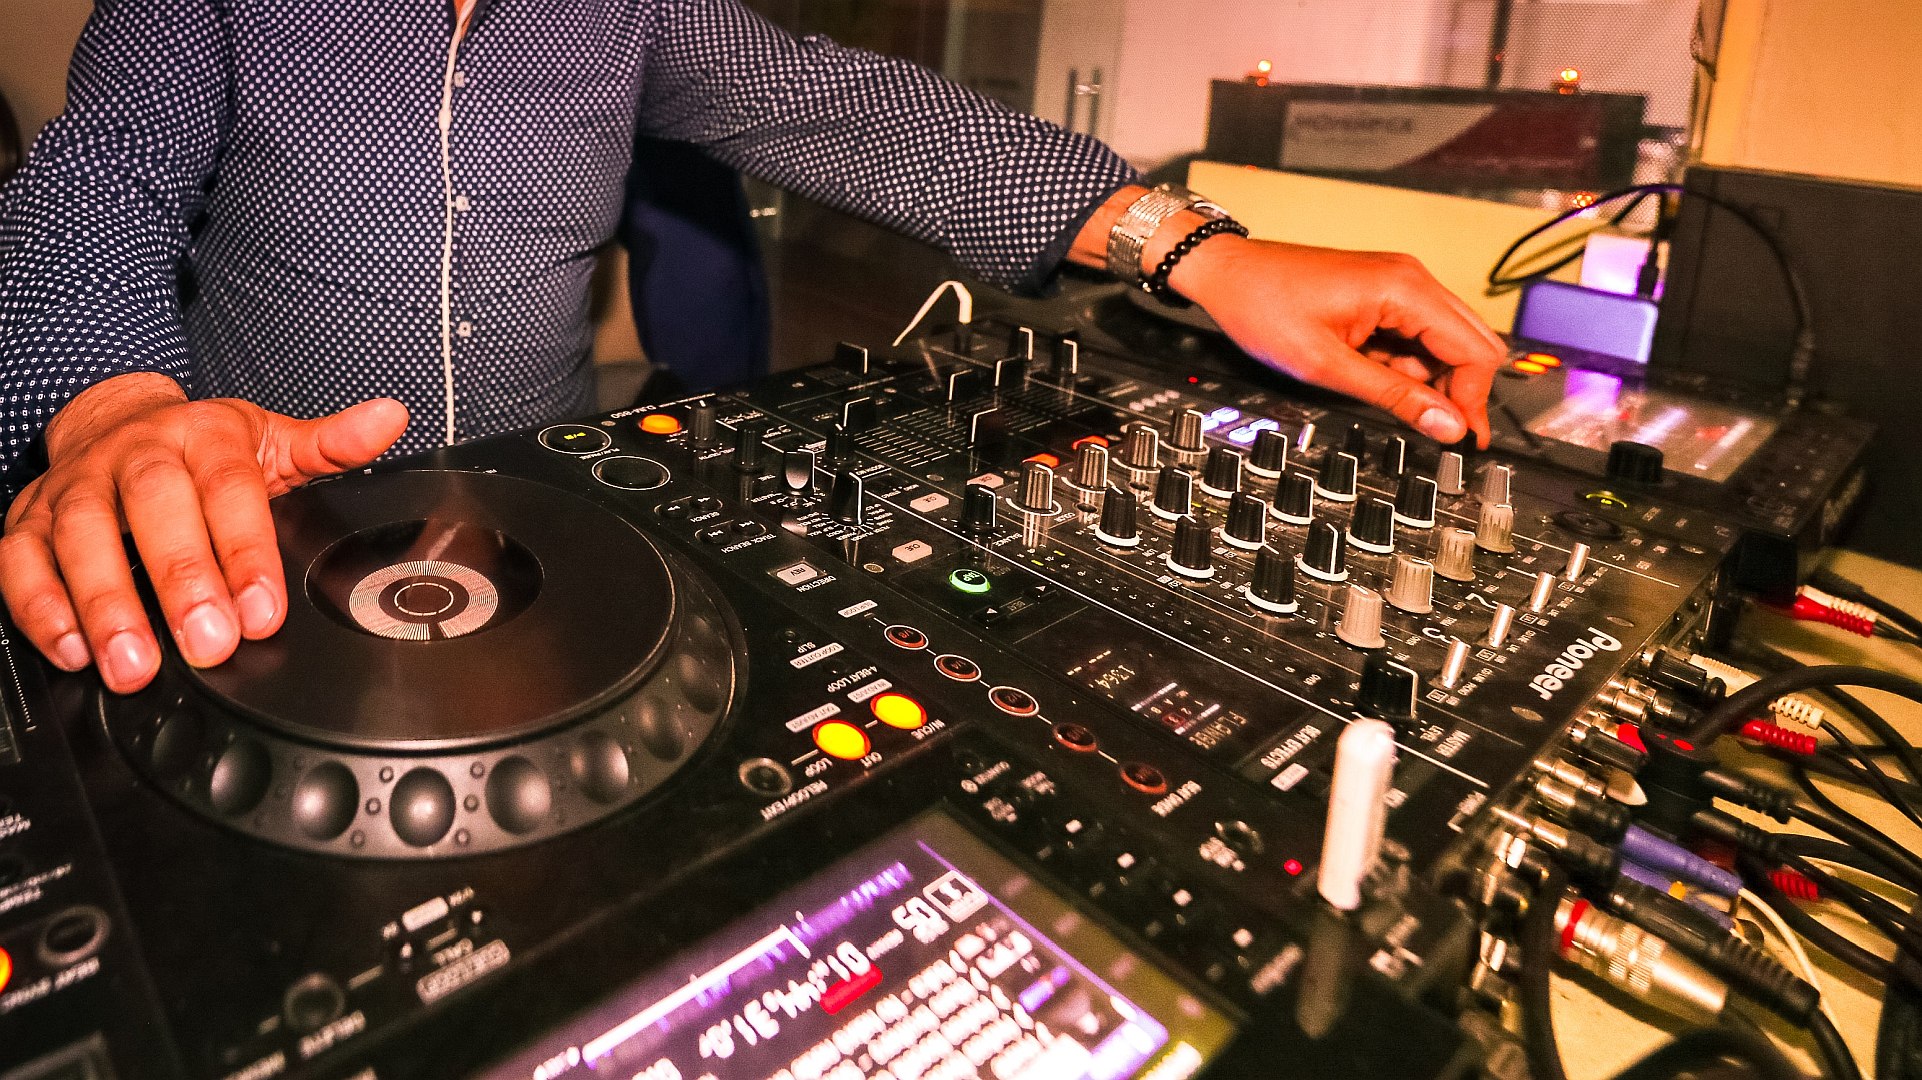
- Mixing.
- Playing music in a way your audience like in respect to your vision.
- Talking with people and doing interviews and journalism of some kind.
Put it more less together and call it DJ’ing. - Production and planning of a radio show.
- Marketing.
- Project management – you will rapidly learn.
- Cooperation.
- Management.
- Fund raising.
- Economy and accounting.
- Your local acts and laws.
- Your voice.
Lots of it are something you may have others to do for your: E.g. you might need to hire special electrician to set up the radio transmitter itself. But you might ask in your neighbourhood if any would like to help you to join your station voluntary so you got all the areas to master covered.
Organization of a CR Community Radio Station
Keep it slim and simple as possible but you might need make a little organization chart in order to make things done as you grow. Very often at small local community radio stations its common to have several things to do and master for each person. Like the mechanic might be a splendid DJ as well or the person doing the accounting might also do interview out of the house.
If you take inspiration of my list of what to master above you are soon there.
As example it could look like this:
- DJ and Host Dep.
- Journalism Dep.
- Production and Planning Dep.
- Technical Dep.
- Marketing and Sales Dep.
- Economy Dep.
- Logistic Dep.
- And somewhere you need a manager to make sure you all got coffee and all the others.
Right now this is you 🙂
Equipment list for radio broadcast and streaming
You might need CD-players, turntables, microphone, mp3 player, mp3 recorder, radio or DJ mixer, monitors/loudspeakers, headphones, telephone hybrids for going online with live interviews, an ultra precise clock GPS/GNSS controlled, radio controlled or NTP controlled. You need to time everything down to a single beat and stroke in the music. This comes with practices and exercises.
On the technical part: all electric equipment must be grounded and have a reliable power supply according to your local regulations.
When you ground all your equipment you:
- avoid humming and buzzing,
- your send the power to the earth in case of a surges and
- in case of a lightning strikes you are more like survive and so are your electronic equipment.
For a more pro solution your should make a kind of Faraday Cage to protect you.
Strongly consider special power relays and Uninterruptible Power Supply (UPS). It both gives your the ability to work when your area is out of power due to thunders storm or black out, and it gives your electrical equipment protection against power transients and wrong delivered power from the grid.
Consider also emergency power generator that can be started and added to both studio and transmitter.
As the transmitter, cable and antenna system are the most critical components for a radio station, you should buy a spare system to store another location. Should thunder strikes and your transmitter goes up in smoke, you can be up and running within a day again.
All your sounds connectors must be proper quality and the cables double shielded in order to avoid hums from received electrical noise. Avoid Bluetooth and WiFi products when possible though your might get lot of fine equipment this way, but they may suffer from bad radiation protection giving you a lot of noise in your broadcasting.
Site note: You might become the hub and centre of your community and giving good service like accurate time is something people expect of you. Hence the precise clock and technical setup that may work in case of harsh incidents. Particular if you live in a rural area.
For a church or hospital radio station a minor 6 channel DJ stereo mixer place in situ might do the job. Most important is you have Pre Fade Listing (PFL) and gain control before so you can trim the volume of the input signal on beforehand.
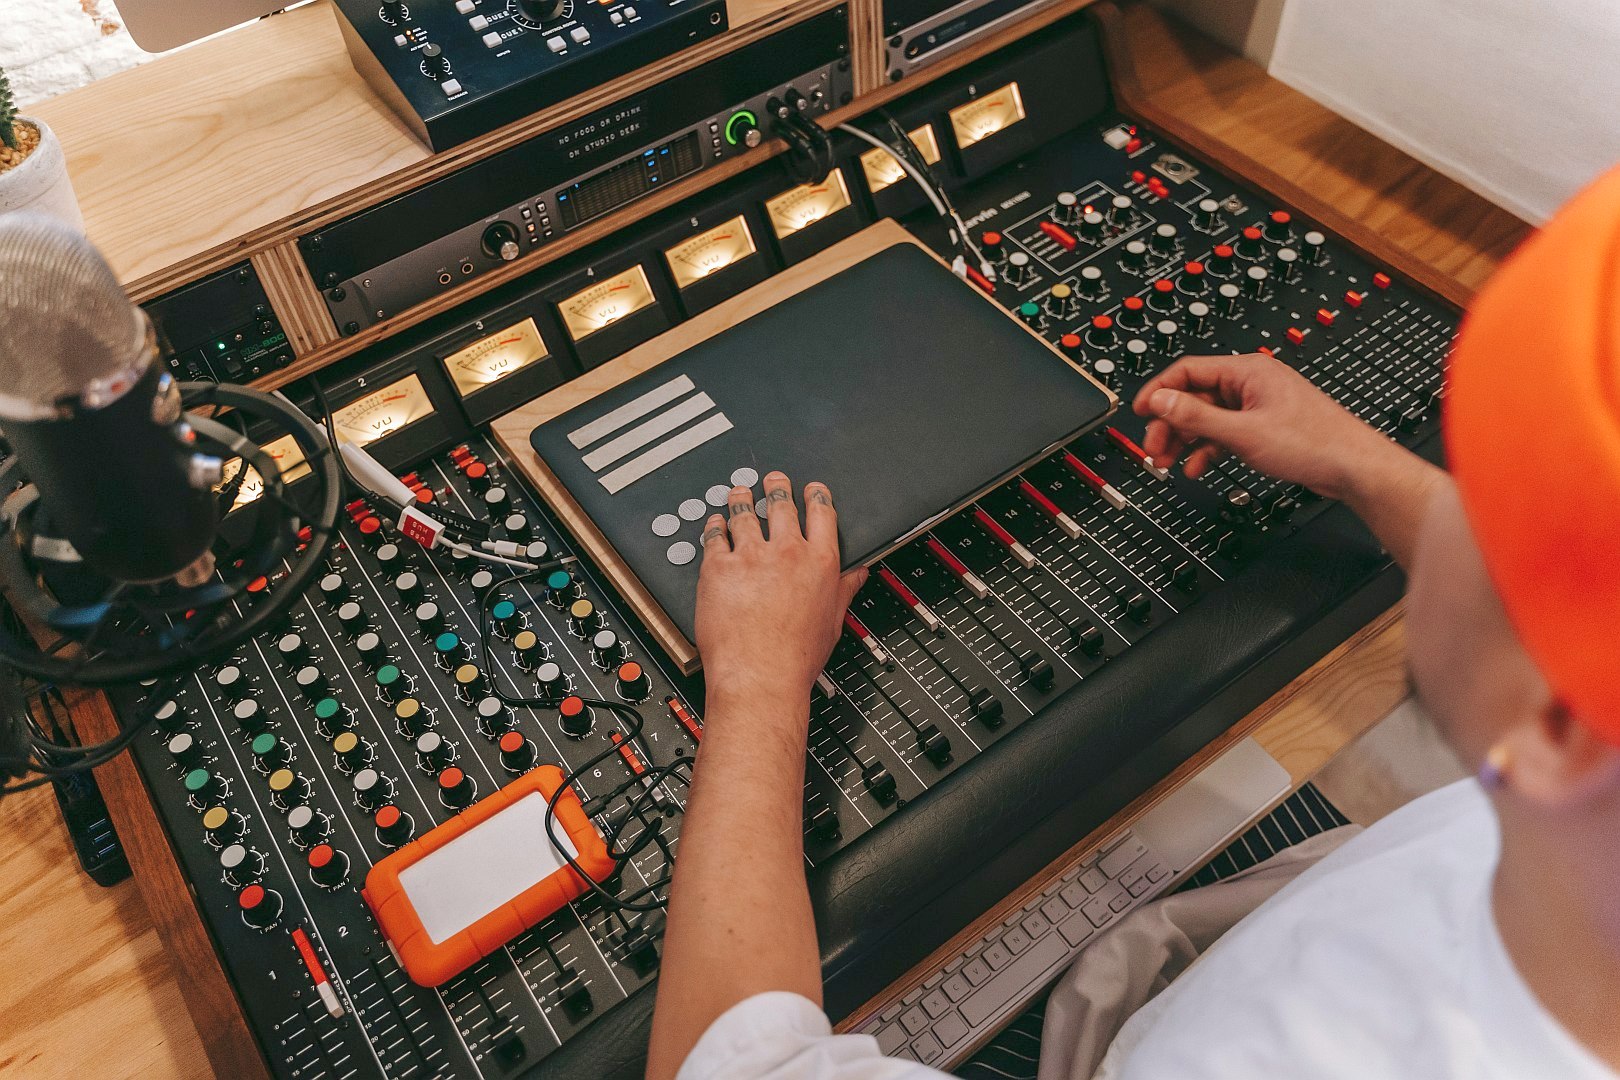
Photo: Anna Pou.
Fine tune your broadcast antenna and cable
Focus on good antenna installation instead of high power transmitters. In the antenna is where the magic happens; from electrical power your voice turns into radio waves.
In short: when your improve your antenna with 3 db (decibel) in radiation strength your double the signal strength. This gives you much more impact than double the power of your transmitter. You need to add four times (at least) the transmission power to obtain the same (some complex physical laws takes place here I skip that for now).
Fine tuning the antenna to match the transmitting frequency, and giving it a good position with free line of sight have much greater impact than high power on the transmitter, and using thick as possible antenna cable gives much more for value the money. Thin RG-59 type coax cable is a no go as the loss is very even after a few metres.
As long the transmitter antenna and the receiver antenna can see each other you can be heard. Hence find a good position for your antenna /aerial is mandatory. And motivate your audience to place their antenna a place where it can see you tower.
On the other hand, there might be circumstances where buying and implement a medium power transmitter makes sense. More about this later on.
Range and Coverage
Expect something like 10-15 km radius for 25 Watt transmitter with a good antenna placed some 60 meter high in open land for car or residential receiver and about 5-10 km for wearable radio like a smartphone or Walkman. Less in cities due to obstacles. Forest and hills are radio signal killers too.
If you like more range you might be better served with applying for an additional satellite transmitter frequency than spending 10.000s of dollars on upgrade your central transmitter to more power. The chance to success is not very high due the curvature of the earth and the fact of you need at least factor 8 i power to double your range effectively.
Free Apps and software for DJ-ing
The good news: lots of it comes right out of your smartphone, or you can download a lot of free editing software like Audacity and a lot of free production and live software as DJ for free like Mixx or RadioDJ as complete solution to broadcast via your PC. VLC Media Player is a fine tool for many kind of media tasks and WinAmp are one of the oldest and most widely used app and software for MP3 playing.
For the file handling you should consider Total Commander as your most versatile friend both on Windows and Androids.
For many of these apps you can get an add-on and showing your stream on your website and RDS in the radio tuner like the cars.
For a little money you got lots of software that can put you in auto-mode and even run your station on autopilot at night or weekend with all your commercials included. Mixxx does a good job out the box.
Buy second hand but quality
For equipment go and find some second hand. Microphones and cables must be good quality like Beyer Dynamic, Sennheiser, AKG, Tascam, Behringer, Yamaha, Pioneer, Technics, Numark, Eela Audio, Allen & Heath, Inovonics.
The legendary SL1210 is always a good choice. The new version are able to play old style records at 78 rpm, so you can play the tunes from back then if you like.
Radio Station Facilities
For the facility home study is an option but its better have a silent peaceful place with good atmosphere and good acoustic. If any sound studio, theatre, record or radio studio are available you should consider use that. A basement or backyard room away from street traffic may also be used.
Making a silent facility may cost a fortune so improvise and be creative to give your audience the best sound experience. Hearing the sound of a toilet might be very inconvenient in an interview or presentation of the music.
But on the other hand, what you have is what you have and your passion is most important and will reflect the output and building it yourself might save money.
Dust is killer for your equipment. Keep your place tidy and clean often.
Make your own Radio Sound – Be distinctive
You need to have a vision and mission for your radio channel, but if you sound like everyone else expect no one listen to you apart from your family. If you twist your approach, your attitude, your voice, your whole show, you might be that different that distinct you on the air and having the listeners.
As example when I worked as DJ and host I used this attitude on our local radio station:
- Pitch up the speed of the turntables 1-2 %. That makes a more happy sound.
- No speaking over the voice of singing.
- No blackouts of music or entertainment (apart from when it was necessary like 1 min silence in remembrance). 2 seconds of silence is long time live on air.
Instead always have some happy tunes, jingles, speak or interview ready for the next 5 minutes and should the music suddenly stops leave an impression of you are absolute aware of what you are doing.
Its all in your Voice!
Speak in pro way, like not so slow you fall asleep and not so fast your audience don’t get what your say! If your are reading news or anything from paper, monitor, teleprompter learn the good way to pronounce, and use the “swing” and natural rhythm in the language you’re speaking in.
Periods are for long breaks and breathing, commas for make attenuation and small breaks as well. Up goes the sound at the comma ↗, and down at the end of a sentence to the period ↘. Find your personal style that suits you and your audience. Adding small handwritten notes are absolutely legal.
Perform by talking in images letting your audience build up their world and they imagine they are with you on your location. When you are painting the scenery for them by words they are more likely to understand you and identify themselves with your ideas. Think it as a radio theatre where you set the scene and your listeners are your audience. Get over the stage border to peoples mind – and stay in there!
Top trim your sound
On the sound side you must aim for best quality sound as possible. Bad ripped CD-grapped from the internet as mp3–files in 96/KB is simply too low quality. Its OK just for documentation recording but turntables gives still must more dynamic and stereo that you you obtain with CD, DAB radio or FM-radio or MP3-files. The closer you are to the sources the better it sounds.
If you streaming go for at least 192 KB/sec or use FLAC (Free Lossless Audio Codec) as its even better.
Your might be lucky to get a sound process like aphex, Beyer or Behringer and add that to your output signal. Spending time fine tuning this might give you superior sound over your neighbour stations.
Audio Process Chain Diagram
Consider this road of your speak and music:
Microphone, Turntables & Music player -> Mixer -> Cables to Transmitter -> Transmitter -> Cable to Antenna -> Antenna ->
Radio Waves,
-> Receiver Antenna -> FM Radio -> Loudspeaker/Earphone -> Ear drums -> Perception -> Reaction of your Audience.
Between all these elements and interconnections of your sound processing, there is a loss. No chain are better than the weakest link and you should counteract this.
Use equalizer and get even
Do yourself a favour and adjust your sound using a calibrated oscilloscope and compensate for loss by using a stereo equalizer as the second last sound processor. The grapich equalizer should monitor on the recipient side or if you don’t have high class tuner at least on the input side of the transmitter.
Going a bit pro you will do sweep-analyses, adding some pink noise and white noise all the through your system and adjust according to the results. This only have to be done once or when you change anything in your transmission chain as described above.
Do it by night when you have few listeners. Most people don’t like the white noise, but tell why you spend a few minutes of the broadcasting time to send “over-terrestrial” sounds. They may benefit of this and adjust their own tuner if they know what you are actually doing.
Automatic Gain Control (AGC)
The last piece of equipment in your control rack before the sound goes out to the transmitter should be a sound processor, that helps you limiting your sound when you becomes too exalted in performing, but also gain up it up when its too low. The smart versions of sound processor can automatically distinctive between your style of music, your speak, your phone lines interviews and swap between your pre-defined sound settings.
If should have a host or producer/DJ that is not very experienced, this is a kind of audio “life saver” and helps the ears of you audience to have calm listening over the day, and on the psychological level this very important.
For inexpensive start, a build-in limiter in a mixer might help you long way up. Adding a simple noise free compressor before it and you trick a bit. On the other hand: broadcasting with out the need for limiting and compressing gives more free and dynamic music and are more natural.
I prefer the natural non-edited sound as much as possible, due to the fact he music producer have done his/hers best to make it sounding good out of the studio. Pressing all music down in “cubes” and making it flat is for me like going back to an old style AM transmitter or phone line quality. DAB radio and low resolution quality sampling of streamline sounds nearly the same. After some half years of training and routine you should be capable making the sound natural with no need of live safe audio processors yourself.
Record your broadcast
Record everything you make in good quality (CD or Hi-Fi). Its both history but also documentation in case of any one either complains or want something specified (some free services on YouTube are available. And you can even rebroadcast your best show later. Or save funny bloopers for special New Year show. An old smartphone with additional SD-card might help you or an inexpensive computer like Raspberry Pi.
Protect your ears
Even you might like your super duper High Fidelity sound on loud volume you must be aere your ears are a sensitive organ and can not last everything. Avoid high transients like shooting, door slamming etc. and avoid playing loud both and daily basis and particular for training or in the field.
More than 90 dba should be the threshold level live for a few hours per week (concert level).
Something like 80 dba or less on daily training basis.
When you add 3 db to you sound level you double the sound pressure so take care. Having a calibrated sound pressure meter in your studio or theatre should be mandatory to avoid ear damage and tinnitus. When you first get it you cannot get rid of it again.
TIP: Buy/get your own personal ear plugs for protecting yourself and keep the volume low on you headphones.
Economy and Administration
To start and run a community local radio station cost money: License, transmitter, equipment, facilitates, power, vehicles, logistic, salary, maintenance, music playing fees to the artists, education among others.
The most inexpensive version might be just buying a proper microphone and mini mixer, add it to your PC, open a free account on YouTube. Done! That requires though your audience in your local areas use you streaming channel all the time or listen to you on demand like podcast. For you as single person it might be an quick an inexpensive startup to go.
If you do like the idea of live broadcast in your community being more than you, then do some research and find methods of fundraising like donations from the government or funds via UNESCO to make you start and run. Some local charity and fundraising organizations might help you here. Sometimes the solution is abroad and content naturals as donated or sponsored (second hand) gear instead of money. Commercials in the air might also be a solution for you.
For the equipment investment start as low budget you possible can and after a while, as your establish, go for better equipment. Most important is the transmitter parts, the mixer desk and a proper microphone.
Make a startup budget, and a running cost budget on monthly basis to make you capable of good fundraising and marketing for your station. You can be absolute sure if you don’t have control of your budget and economy you will not succeed.
Most countries do require a supervised annual accounts and your sponsors or partners might require this as well.
No matter how big or small always make a kind of business plan. When you apply for the broadcast license you need it here anyway as its often required as appendix to the application.
Glue to your frequency
Radio waves have in many countries turned into a kind of income for the government, so they charge you heavily for the licence and differ between cosy non-mission critical community radio and business commercial local radio stations. The latter often pay (much) more and hence get an advance of choosing the frequency.
When applying for licence make sure you got your radio frequency solely. I.e. some countries like Canada community stations transmitting below 50 Watt might be overruled and forced to give away the frequency to commercial station if they apply (pay) for it. So make sure you get a main transmitter that fulfill the minimum requirements to stay on your frequency.
Getting the frequency for broadcasting is your most important asset at all as radio station, no matter how big or small you are. Its like your phone number On the Air, and you spend years to make people remembering you here. Its essential part of your marketing and changing all this cost you a fortune; the transmitters(s) and replacing the antenna to new ones might drain your bank account.
When applying go for a permanent or at least 10 years period if possible.
If you need to have a commercial medium level transmitter like 100 watt as initial as described above then go for it. The cost is less than doing a complete remarketing.
I speak of experience – bad national governmental planning forced us to change everything. What a struggle.
There are only one case I find you should change your main frequency, and that is if your placed too close to other radio transmitters and your signal are interfered and compromised by others. Then change so your listeners do not tired of your bad sound.
Some countries allow 5 watt experimental transmitters to an On Air “light” license. These are often used at campus, sport events, drive-in churches, drive-in cinemas, or parking areas. Study your local regulations. Maybe this is sufficient for a start. Listening range is about 1-3 km.
How and where to apply for a Broadcast Community Radio license?
In order to apply for licences and become legal on the air you must follow your countries rules and regulations and do the right process in the right order. Otherwise you might be rejected or locked down by your local authorities. But its not difficult just fill out the application form and send it to the right mailbox as described respectively. For most of the forms a handle fee must be paid in advance.
If your are in doubt just transfer your money to me as charity 😀
Australia
https://www.acma.gov.au/apply-community-radio-licence
—–
Denmark
Apply to places at the dep of Culture:
https://slks.dk/omraader/medier/tilskud-til-medier
and
https://slks.dk/omraader/medier/radio/registrering-af-radio
—–
India
https://www.mib.gov.in/broadcasting/community-radio-stations-0
or
https://www.india.gov.in/application-form-grant-permission-setting-community-radio-station
—–
Kenya
https://www.ca.go.ke/licensing/
——
Myanmar
https://www.mcmc.gov.my/en/sectors/broadcasting
—–
South Africa
https://www.gov.za/services/communication/community-broadcasting
Further Reading
Find here some further inspiration made by UNESCO:
HOW TO GET ON THE AIR Handbook for Community Radio in Myanmar (1.1 MB pdf).
Even its targeted for Myanmar no matter where in the world you are, you may benefit from this leaflet. The ideas is same.
handbook_cr_myanmar_en
CR: A user’s guide to the technology. A guide to the technology and technical
parameters of community radio in India by N. Ramakrishnan. (4.2 MB pdf)
Its mainly targeted for India and written in 2007 so some of the equipment might look old style but they still work. The base idea is to give inspiration and this I see it fulfills.
Questions?
Having questions regarding this you are welcome to ask or leave a comment.
Having about 16 years experience as pro DJ and host, 7 years with own weekly radio show and being responsible for all the the technical setup i might have an ideas to bring you further.
Happy Broadcasting 🔊