Freedombox is a pure blend of Debian and a very smart way to setup a home server including mail server and spam scanning for a single domain. It gives you superior features more or less out of the box in a couple of hours. When it works! My scribbles will make it work for you.
But first a little background story; I have tried several different ways to install it, and most of them not very successful or very very slow.
I have tried with true Debian image, but makes troubles as you install Freedombox. Also I lack the build in security and smartness features from Raspi OS.
I have tried with the 64bit Raspios, but this is a pain. There are flaws that makes it stall and reboot without any reasons. Don’t spend your time here!
I have tried to cheat adding Bookworm as repository directly. This works until it don’t. There a so many internal interactions that has still not been programmed in stabel state so you will see problem in rspamd and Cockpit app.
I have tried to compile both on my Raspberry Pi and on my Virtual Private Server (VPS) Debian and after very long afternoon I realize that was not the right way to go. None of it worked as aspected in a production environment. Luckily my local discount store had some good tea on a bargain while waiting.

If you want to have mail server functionality – in which I do giving me the freedom – you need do have Freedombox version 22.6 or above. And (at the moment) this is quite pain to do it fast, if you don’t hit the right path through the IT jungle. But I can help you, follow my guide:
You need:
- Raspberry Pi 3 or better,
- SD-card high speed and good quality at least –
32-64 GB. - A good and stable power supply!
- Fresh Install 32bit lightweight Raspios Bullseye latest kernel 5.15 (SEP 2022). Se my other guide here for this.
Personally I use the desktop light version as I use the same Raspi box a as web radio.
The road to ride is the Adding username and Password on beforehand. I don’t spend time on upgrade un the fresh installation, the keyboard and time settings here until later.
or
- You need your fresh installed Debian Server with minimal content (server light) or,
- A VPS (virtual private server goes fine.
- At my supplier the cheapest VPS-packege do not come with Debian Bullseye included but buster. That way I have to upgrade from that like here. The procedure here is more or less the same. The speed is just 5-20 faster than my Raspi 3 B+.
If I choose the VPS package with two cores or more included I got Debian Bullseye included and on some of them even have the backports added directly from the image at installation.
I guess its their business model.
Tip: First boot on a VPS does usually not comes with firewall enables. Either add and external on the virtual switch if possible with access for your own IP or add UFW as the first thing before anything else. IP addresses at server farms are notorious under attack and on some of my servers it took only about 20 seconds from first boot to first attack. I prefer to reinstall again and put up strong fence so I know the VPS is (hopefully) clean.
Time: app. 3 hours
Here we go
In a terminal window, do:
#apt update -y
(if you are in Desktop version it might force a reboot)
Do not upgrade yet. We make some tricks first, and upgrade takes long time if you hit day of huge changes.
#nano /boot/config.txt
add at the bottom after [all]
force_turbo=1
avoid_warnings=2 (I do this keep full throttle both be sure your power supply is flawless)
# nano /boot/cmdline.txt
add
ipv6.disable=1
to the end of line. This will disable IPv6. You need to make sure software as Postfix and Dovecot like this. We trim on that setting later.
Do
#raspi-config
In the menu:
Go to network -> change hostname (make a short name that suits you).
Advanced -> Chose NetworkManager -> Networkmanager (otherwise Freedombox don’t like the settings later.
Change Keyboard to your preferred layout and language.
Set the time to a preferred zone.
Edit:
#nano /etc/apt/sources.list
Add backport to this files:
deb http://deb.debian.org/debian bullseye-backports main contrib non-free
deb-src http://deb.debian.org/debian bullseye-backports main contrib non-free
and now you need the keys to get it:
#apt-key adv --keyserver keyserver.ubuntu.com --recv-keys 0E98404D386FA1D9
#apt-key adv --keyserver keyserver.ubuntu.com --recv-keys 648ACFD622F3D138
Do:
#apt update -y
If you do update without adding the keys your might get this error:
NO_PUBKEY 648ACFD622F3D138
NO_PUBKEY 0E98404D386FA1D9
Do:
#apt upgrade -y
#reboot
#apt install freedombox -y
or
#DEBIAN_FRONTEND=noninteractive apt-get install freedombox
The “DEBIAN_FRONTEND=noninteractive” should avoid several configuration prompts that would otherwise appear during the install but Im not very keen on it.
During the installation, you will be provided a secret key that needs to be entered during the initial configuration process. Note this down. The secret can also be read at a later time from the file
#/var/lib/plinth/firstboot-wizard-secret
If it ask for user and password, you can add that. If it asking for other parts like freedns, ignore this as you can add this later.
#reboot
Now you should be up and running, but sometimes Freedombox halts. In order to test this do:
#systemctl status
and confirm you got a green dot at the top. If not, do
# systemctl
and scroll down to find the stalled services shown in red. Correct the problem(s).
Sometimes doing
#dpkg -reconfigure -a
makes it work.
——-
Now you should be ready to go online via your preferred web browser:
Go to your IP or domain when Freedombox has finished preparation – takes about 5-10 min: add the secret as suggested.
Add User and Pasword (Write it down and store a safe place). Use the same as you made during the installation.
Disable UPGRADE and UPDATE at first login (this takes terrible long time here and makes you tea brewing for a moment).
Go to SYSTEM -CONFIG -> Add your domain (do not enable update nor smart features)
Go to SYSTEM -> UPPATE -> Disable auto update both places
Remember to add these later, both for the start we don’t want it.
Now go to HOME -> COCKPIT -> NETWORKING -> EDIT RULES AND ZONE -> Enable FIREWALL.
If this doesn’t work… upgrade to a newer version like 22.21.
Set your network Interface Card for the external zone (the one that face the Internet) and enable this.
If Networking says “Doesn’t work” or something” like that – Go to terminal: –
#raspi-config and choose NETWORK-MANAGER as described above.
Upgrade to version 22.6 and above / 22.21
That was the initial part. Now we need to upgrade your Freedombox to a version higher than 22.6:
Go to a terminal, do:
#apt full-upgrade -y
Now got to FDB and system settings -> Upgrade -> Choose manual Upgrade.
When done, reboot.
When reboot has taken place, wait some minutes for the machine to find itself.
Now you can go ahead and install your preferred APP / Software (Postfix takes long time like 20-45 min).
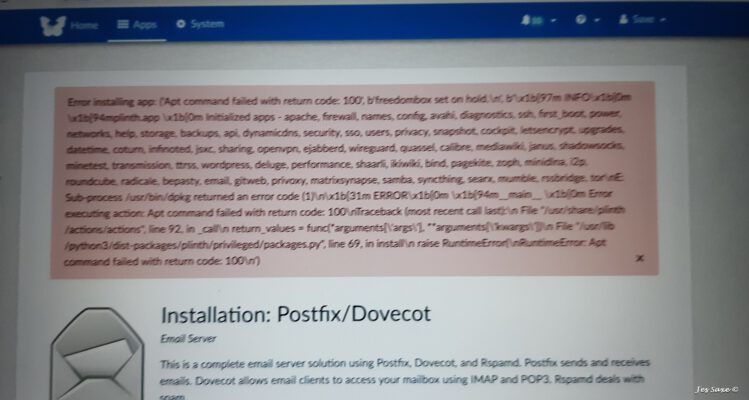
Adjustments for Postfix and Dovecot
As we force the system to have IP4 only we need to make sure that your mail systems accept this.
Do:
#nano /etc/postfix/main.cf
edit the line
inet_protocols = ipv4
to look like the same, and
mynetworks = 127.0.0.0/8
must contain ip4 addresses only
Then edit
#nano /etc/dovecot/dovecot.conf
and find the line:
listen = *
And make it look like this. Save all and restart
#systemctl restart postfix
#systemctl restart dovecot
Check all are good.
Some screen dumps of the GUI in rapsmd:
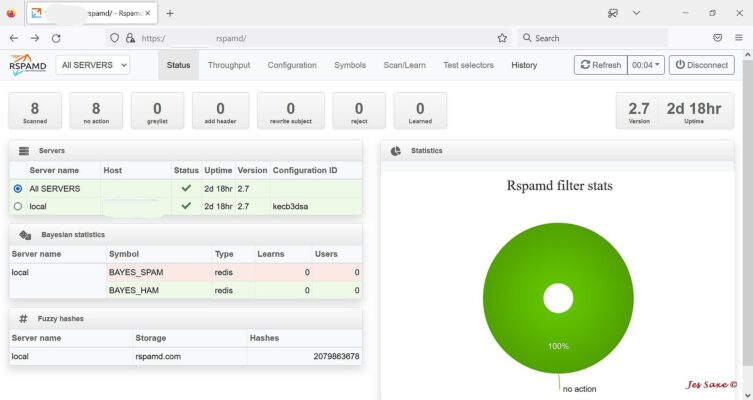
Photo:: Jes Saxe (c)
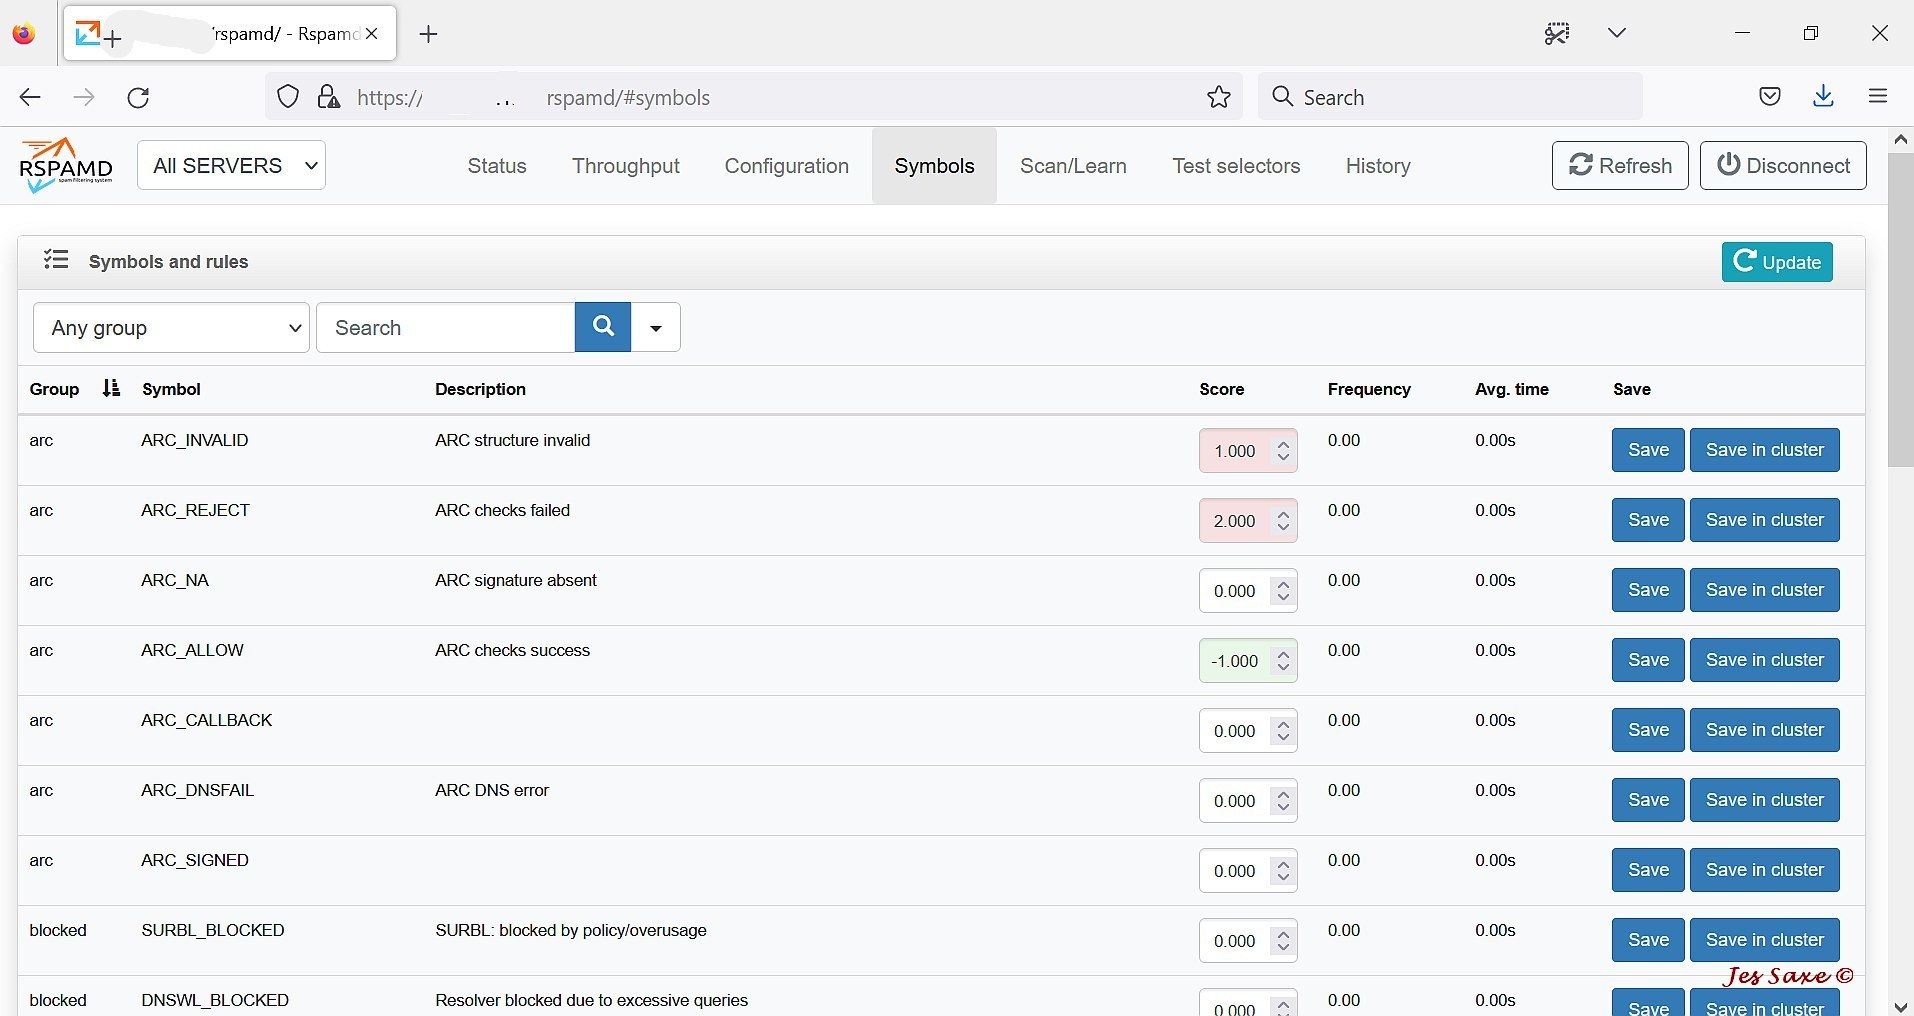
Foto: Jes Saxr (c)

Photo:: Jes Saxe (c)
As you can see this setup and GUI is suprior to Spamassassin in overview and configuration. So much power and so easy. 👍 Moreless like the Windows based spam filter Blue Squirrel Spam Sleuth.
Notes:
When you upgrade to FDM version 22.21 and higher it makes major changes:
- Chrony nor NTP will coexist with Freedom box. Its stops and running and become masked.
UFW firewall cannot coexist with Freedombox. Its install firewalld and automatically delete UFW. - Nftables are used instead of iptables and you should not change this if you want a simple and strong system with administration from the app Cockpit in Freedombox.
- Monitorix can be used together with Fredombox but Network Ports do not show anything as Monitorix do not support nftables yet. It have been reported so one day in the future we can be lucky.
- Your main account for your freedombox does not have a mailaccount itself. You need to add this specicifc account to Email Aliases. Otherwise you cannot use it. (I don’t know wether its bug?).
The cure:
#apt purge <your bad app>
#apt reinstall freedombox -y
You are good to go again.
- The build ind firewall seem to have a bug: When you add a Custom Port it deletes the zone after pushing the accept. Just add the zone manually and you are fine.
Customization:
Add bind, and add forwarder. The DNS to Firewall and add DNS in-going ports and your have your own little rebel.
Some toplogy notes:
My setup is behind a home router with directed ports to the Freedombox.
All my private and Small Business IT is behind another router from Mikrotik. This way I made a walled perimeter and higher security. Aka back-to-back firewall. I don’t use DMZ as would make open holes from the outside to my Freedombox and other nice Raspberry Pi’s in my little walled zone.